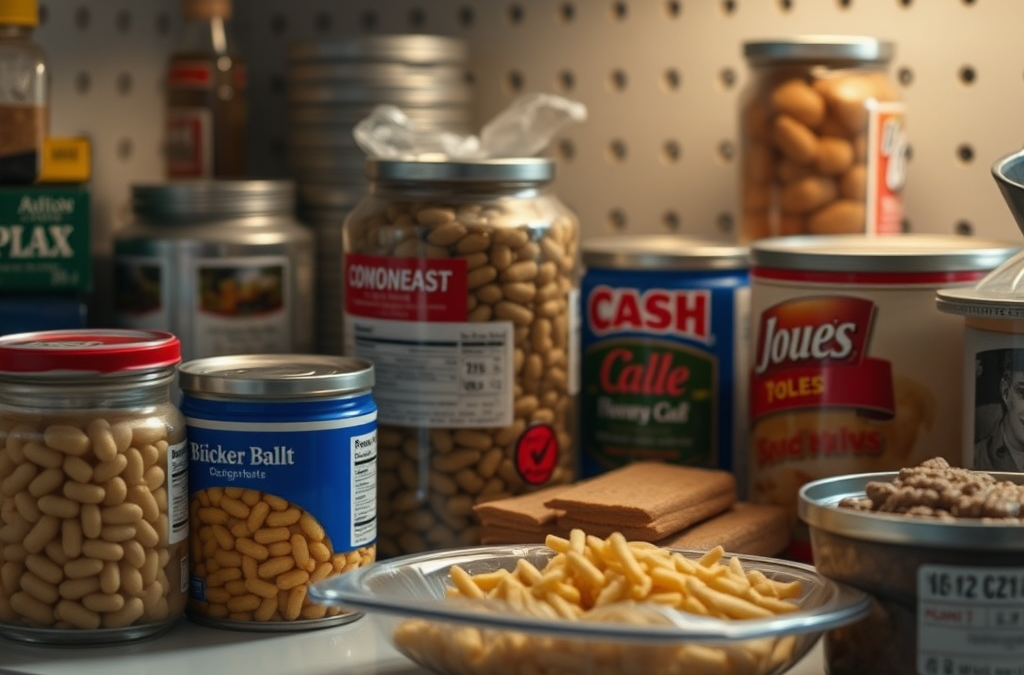
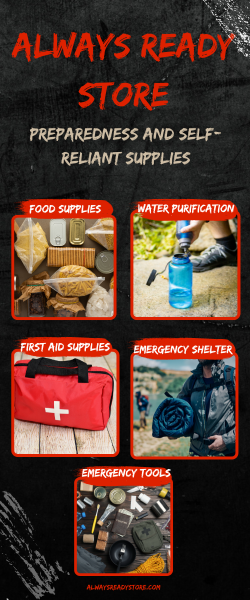
Expiration dates on prepper foods often lead to misunderstandings about their actual shelf life. Many consumers interpret these dates as definitive indicators of safety, but they are typically more about quality than safety. For instance, canned goods may still be safe to consume long after their printed date if they have been stored correctly. It’s essential to know that these dates can vary widely depending on the type of food and its packaging.
For example, a can of vegetables might have a shelf life of 2-5 years, while freeze-dried meals can last up to 25 years or more. Understanding these differences helps preppers manage their supplies more effectively and avoid unnecessary waste. Regularly checking the condition of stored items, such as looking for rust or bulging cans, also plays a vital role in ensuring food safety.
Ideal Storage Conditions
The shelf life of prepper foods is significantly influenced by storage conditions. Factors such as temperature, humidity, and light exposure can affect food longevity. Ideally, prepper foods should be stored in a cool, dark, and dry environment. High temperatures can accelerate the degradation of food quality, while humidity can lead to mold and spoilage.
For instance, storing canned goods in a basement that is prone to temperature fluctuations can shorten their shelf life. Conversely, a stable environment, such as a climate-controlled pantry, can extend the usability of these products. Preppers should consider investing in temperature and humidity monitoring devices to maintain optimal conditions.
Common Myths About Shelf Life
Many myths surround the shelf life of prepper foods, leading to misconceptions that can jeopardize food safety. One prevalent myth is that foods like rice and beans last indefinitely. While these staples can last for many years, their shelf life is contingent on proper storage methods. If exposed to air or moisture, they can spoil much sooner.
Another common misunderstanding is regarding vacuum-sealed foods. While vacuum sealing can significantly extend shelf life by reducing exposure to oxygen, it does not make food invulnerable to spoilage. It’s still essential to monitor the integrity of the seal and the storage conditions. Understanding these myths and the reality behind them can help preppers make informed decisions about their food supplies.
Best Practices for Prepping Foods
To maximize the shelf life of prepper foods, adopting best practices is crucial. First, regularly rotate your food stock, using the oldest items first to avoid spoilage. This method, known as FIFO (First In, First Out), ensures that food is consumed before it reaches the end of its shelf life.
Additionally, consider labeling all food items with purchase dates and expected expiration dates. This practice helps in tracking the age of your supplies and planning your meals accordingly. It’s also wise to conduct periodic audits of your food storage to identify any items that may need to be replaced or consumed soon. By following these practices, preppers can maintain a reliable and safe food supply.
For those seeking more information on the shelf life of prepper foods, consider checking reputable sources such as the USDA guidelines on food storage, or consult resources from food safety organizations that provide detailed insights into best practices for food preservation.
Frequently Asked Questions
What is the difference between expiration dates and best by dates?
Expiration dates indicate the last date for peak quality, while best by dates suggest when the product will be at its best flavor or quality, not safety.
Can I eat canned food past its expiration date?
Yes, canned food can often be consumed past its expiration date if the can is undamaged and the food looks and smells fine.
How should I store dried foods for maximum shelf life?
Dried foods should be stored in airtight containers, kept in a cool, dark, and dry place to maximize their shelf life.
What are signs that prepper foods have gone bad?
Signs include off smells, discoloration, bulging cans, or visible mold. If in doubt, it’s safer to discard the item.
How often should I check my food supplies?
It’s advisable to check your food supplies every six months to ensure they are still safe and usable.
Academic search resource for finding research literature and source material
Conclusion
Understanding the shelf life of prepper foods is essential for effective food management and safety. By recognizing the importance of expiration dates, ideal storage conditions, and common misconceptions, preppers can ensure their food supplies remain safe and usable. Regular audits, proper storage techniques, and informed decision-making are key to maximizing the shelf life of your prepper foods.
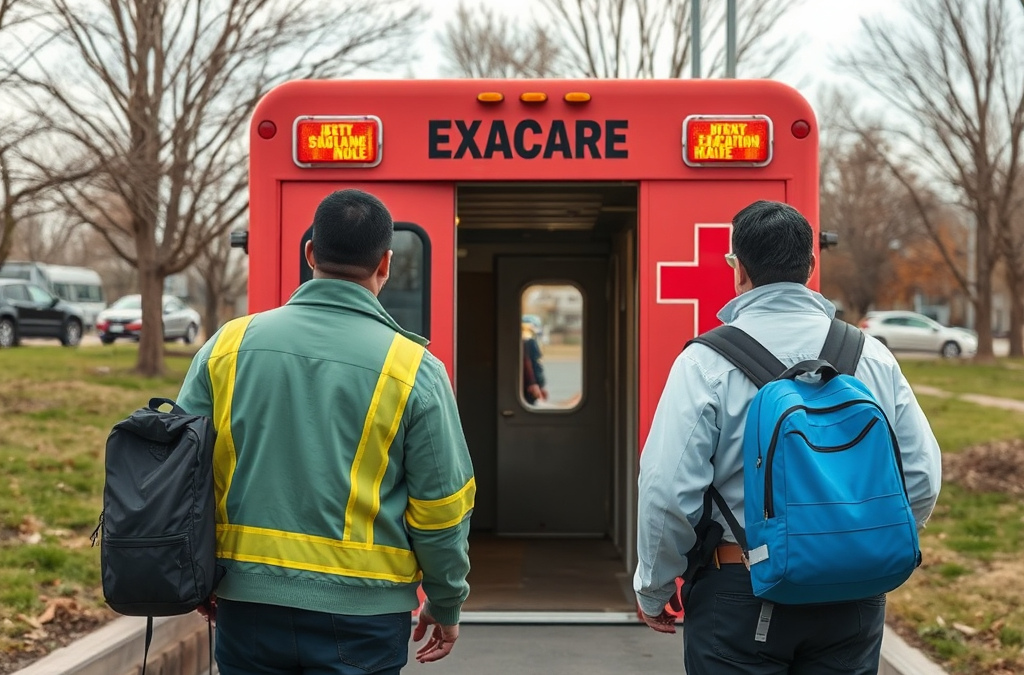
Emergency evacuation routes are designated paths that individuals take to safely exit a building or area during a crisis. Understanding these routes is vital as they are designed to minimize risk and ensure the quickest possible escape. They often include various exits, stairwells, and safe meeting points outside the building. Familiarity with these routes can make a significant difference in how effectively individuals respond during emergencies.
Evacuation routes should be clearly marked and communicated to all occupants in a building. This includes signage and maps that indicate the safest exits. However, simply knowing where these routes are is not enough; regular practice is essential to ensure everyone can navigate them under stress. For example, in a fire drill, occupants may learn that the nearest exit is blocked, requiring them to use an alternative route instead.
Benefits of Practicing Evacuation Routes
Practicing evacuation routes offers several key benefits that enhance safety and preparedness. First and foremost, regular drills help build muscle memory, allowing individuals to react quickly and confidently during an actual emergency. This is crucial as panic can set in during a crisis, potentially leading to poor decision-making or hesitation.
Additionally, practicing evacuation routes helps identify potential obstacles or hazards that may not be apparent during initial assessments. For instance, furniture placements or construction changes can block pathways, making it essential to regularly review and practice these routes. Regular drills also encourage a culture of safety, prompting individuals to prioritize preparedness in their daily routines.
Common Mistakes in Evacuation Practice
Despite the importance of practicing evacuation routes, several common mistakes can undermine their effectiveness. One major error is failing to conduct drills frequently enough. Without regular practice, individuals may forget critical steps or become complacent about safety protocols.
Another common pitfall is not involving all building occupants in the practice sessions. It’s crucial that everyone, from employees to visitors, understands the evacuation procedures. Additionally, many individuals neglect to account for changes in their environment, such as new furniture layouts or construction, which can alter the best evacuation routes. This oversight can lead to confusion during an emergency, highlighting the need for ongoing evaluation and adaptation of evacuation plans.
How to Effectively Practice Evacuation Routes
To effectively practice evacuation routes, start by ensuring that all occupants are aware of the routes and emergency procedures. Conduct regular drills at different times and days to account for varying occupancy levels. This approach helps to ensure that everyone has the opportunity to participate and familiarize themselves with the routes.
During drills, it’s essential to simulate real emergency conditions, such as reducing visibility or introducing noise, to better prepare individuals for the stress of an actual evacuation. After each drill, conduct a debriefing session to discuss what went well and what areas need improvement. This feedback loop is vital for refining the evacuation process and addressing any obstacles encountered.
Frequently Asked Questions
Why is it important to practice evacuation routes regularly?
Regular practice helps build muscle memory, ensures familiarity with the routes, and prepares individuals to respond effectively under stress.
What are some common mistakes made during evacuation drills?
Common mistakes include infrequent practice, not involving all occupants, and failing to adapt routes to changing environments.
How can I improve my building's evacuation plan?
To improve an evacuation plan, regularly review and update routes, conduct drills with all occupants, and address any identified obstacles promptly.
What should I do if an exit is blocked during an evacuation?
If an exit is blocked, individuals should be trained to quickly identify alternative routes and remain calm while seeking the next safest exit.
How often should evacuation drills be conducted?
Evacuation drills should ideally be conducted at least twice a year to maintain familiarity and readiness among building occupants.
National preparedness resources for planning, mitigation, and response readiness
Conclusion
Practicing emergency evacuation routes is a critical component of safety preparedness that can save lives. Regular drills enhance familiarity, build confidence, and allow individuals to navigate quickly during emergencies. It’s essential to avoid common pitfalls, such as infrequent practice and overlooking environmental changes, to ensure that evacuation plans remain effective. By prioritizing these practices, individuals and organizations can significantly improve their readiness for unexpected situations.
Expiration dates are crucial indicators that help you determine when food and medical supplies should be replaced. Many foods in emergency kits, such as canned goods or dehydrated meals, have specific shelf lives, which can range from a few months to several years. It’s essential to regularly check these dates, as consuming expired food can lead to health risks.
For medications, the expiration date indicates the last date the manufacturer guarantees full potency. Using expired medications may not provide the intended treatment and could even be harmful. Always ensure to rotate your supplies, using the oldest items first and replacing them as you go.
Inventory Management Practices
Effective inventory management ensures that your emergency supplies are always ready for use. Regularly assessing your inventory allows you to identify low-stock items before they become critical. A common mistake is neglecting to check supplies after a disaster or emergency, leading to unexpected shortages when they are most needed.
Develop a routine for checking your supplies, ideally every six months. During these checks, make a note of items that are low, expired, or damaged. Keep a written or digital log to track these details, which can help streamline the replenishing process. This practice not only keeps your supplies organized but also enhances your preparedness.
Physical Condition of Supplies
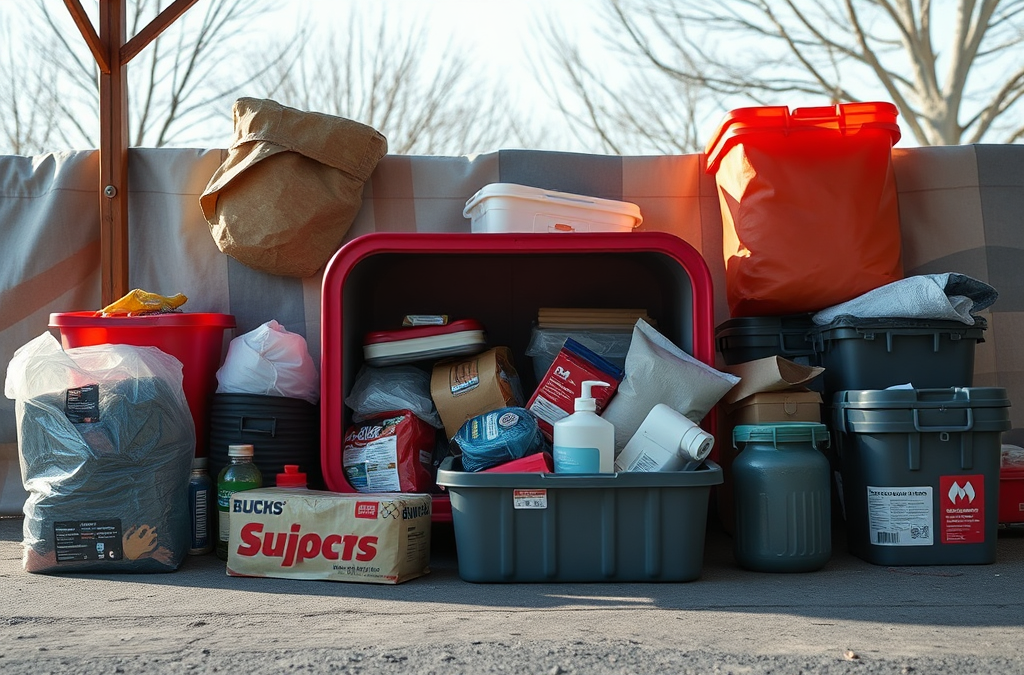
The physical condition of your emergency supplies is just as important as their quantity and expiration dates. Items can become damaged or degraded over time, especially if they are not stored properly. Check for any signs of wear and tear, such as rust on tools, cracks in containers, or leaks in water storage.
Additionally, inspect packaging for any signs of pests or moisture damage. This is particularly important for food items, as compromised packaging can lead to contamination. If you notice any damaged items, replace them immediately to ensure your emergency kit remains effective.
Utilizing a Replacement Checklist
A replacement checklist is an invaluable tool for maintaining your emergency supplies. This checklist should include all critical items in your emergency kit and their respective expiration dates. By having a clear list, you can easily identify what needs to be replaced during your inventory checks.
Consider categorizing your checklist into sections, such as food, medical supplies, tools, and personal items. This organization makes it easier to manage your inventory and ensures no essential item is overlooked. Regularly updating this checklist as you use supplies will help you stay prepared and avoid last-minute scrambles during emergencies.
Frequently Asked Questions
What should I check first in my emergency supplies?
Start by checking expiration dates on food and medications, followed by the physical condition of supplies.
How often should I replenish my emergency supplies?
It's advisable to check and replenish your emergency supplies every six months to ensure readiness.
What are common mistakes in managing emergency supplies?
Common mistakes include neglecting to check expiration dates, failing to rotate supplies, and not replacing damaged items promptly.
How can I organize my emergency supplies?
Use a categorized checklist to keep track of items, and store supplies in a cool, dry place to maintain their condition.
Why is it important to have a replacement checklist?
A replacement checklist helps you track expiration dates and ensure that all essential items are stocked and in good condition.
National preparedness resources for planning, mitigation, and response readiness
Conclusion
Regularly monitoring your emergency supplies is essential for effective preparedness. By understanding expiration dates, managing inventory, checking the physical condition of items, and utilizing a replacement checklist, you can ensure that your supplies are always ready for use. Prioritize these practices to avoid running into shortages or using expired products when you need them the most.