by Preparation | Jul 31, 2025 | Preparedness
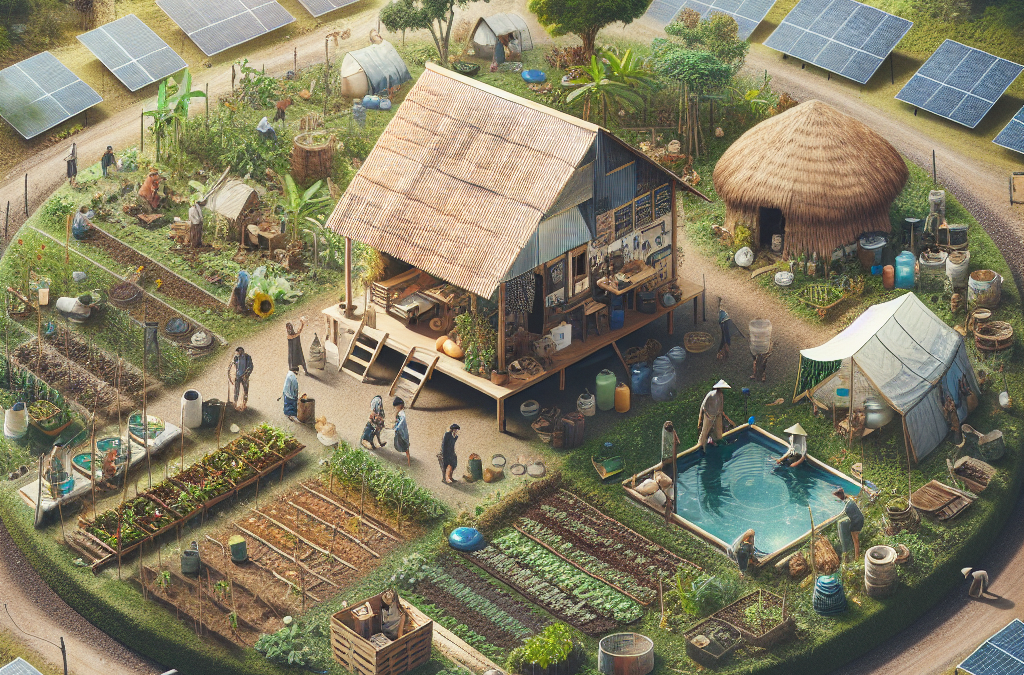
In today’s world, uncertainty lurks around every corner. Natural disasters, health emergencies, and unexpected events can strike without warning. Understanding the importance of emergency preparedness is crucial; it’s not just about survival but also about ensuring peace of mind for you and your loved ones. A well-structured emergency plan can make all the difference when chaos ensues.
To begin crafting your comprehensive strategy, start by assessing risks specific to your area. Every region has its unique threats—hurricanes in coastal towns, earthquakes on fault lines, or blizzards in northern climates. Research local hazards through government resources or community forums to get a clearer picture of what you might face. Knowing these potential threats enables you to tailor your emergency response appropriately.
Once you’ve identified the risks, it’s time to build the essential components of your emergency plan. Every effective plan should include clear roles for each family member and detailed procedures for various scenarios—whether it involves evacuating safely or sheltering in place during a storm. Establish meeting points both close to home and further away in case local conditions change drastically. Additionally, create an emergency contact list that includes friends and relatives who live outside your immediate area; they can serve as vital communication links if local networks fail.
Next up: building your emergency kit! This crucial step cannot be overlooked. Your kit should contain at least three days’ worth of supplies for each family member, including non-perishable food items, water (a gallon per person per day), first-aid supplies, flashlights with extra batteries, a multi-tool or knife, personal hygiene products, necessary medications, and important documents stored securely in a waterproof bag. Consider adding comfort items like blankets or books that may help ease anxiety during stressful times.
Communication strategies are also paramount when disaster strikes. In our technology-driven age, staying connected can be both a blessing and a curse. Ensure everyone knows how to reach each other by establishing primary and secondary communication methods—text messages often work better than calls during emergencies due to network overloads. Designate one out-of-state contact for all family members to check-in with as this can simplify coordination efforts when local systems are down.
However, creating an emergency plan is only half the battle; regularly reviewing and practicing it is key to staying prepared! Schedule periodic drills so everyone understands their roles instinctively when real situations arise. Practicing different scenarios helps build confidence among family members while reinforcing protocol adherence—after all, preparation transforms panic into proactive action.
Finally, don’t forget that preparedness is an ongoing process! Situations evolve over time—new threats emerge while personal circumstances change (like moving homes or welcoming new family members). Make it a habit to revisit your plan annually or after major life events.
In conclusion, being prepared goes beyond simply having supplies stashed away; it encompasses ongoing awareness and actionable strategies tailored specifically for you and those you care about most. So take charge today: assess risks in your area, develop an effective plan together with loved ones—and breathe easier knowing you’re ready whatever comes next!
by Preparation | Jul 31, 2025 | Preparedness
Assessing Your Water Needs
Understanding Daily Consumption
To kick things off, the first thing you gotta do is genuinely understand how much water you and your family consume daily. This ain’t just about drinking; think cooking, cleaning, and hygiene too. Honestly, you’ll be surprised how quickly those gallons add up when you really start thinking about it!
Start by tracking your usage over a week or so. Grab a notebook or even your phone, and jot down how much water you use for everything. Are you filling the kettle for tea? That’s part of it! Washing the dishes? Don’t overlook that. It all counts!
Once you have a clear picture of your family’s needs, you can assess how much water you’d want to store for emergencies. Trust me, having that knowledge is like having a roadmap—it guides your decisions for how much water you really need to store away.
Choosing the Right Storage Containers
Types of Containers
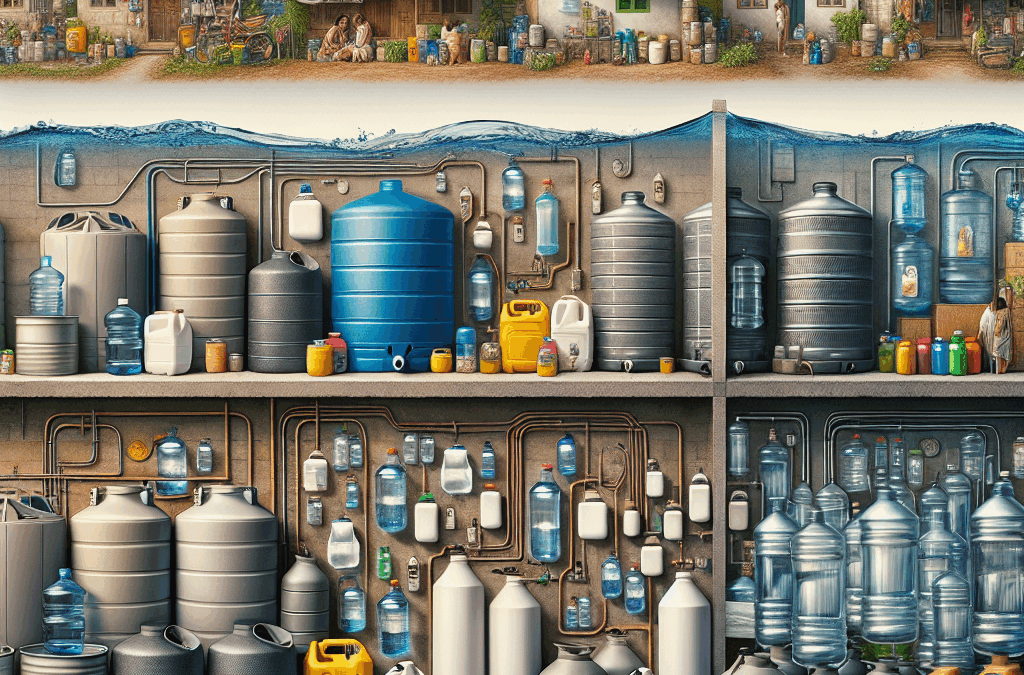
Now that you’ve got an idea of how much water you need, it’s time to talk about containers. You can’t just fill up your old soda bottles and call it a day, folks! There are proper water storage containers designed specifically for this purpose.
You can go for food-grade plastic containers, which are lightweight and durable. There are also glass containers that, while a bit heavier, don’t leach chemicals over time. Then you’ve got stainless steel, which is awesome for keeping things fresh but can be a little pricey. Consider your space and budget before diving in!
Always remember to check for any leaks or cracks before using them. You wouldn’t want to be caught with a busted container when it’s crunch time. It’s all about being proactive instead of reactive when it comes to water storage!
Treating the Water Before Storage
Using Water Purification Methods
So, let’s chat about treating the water before you pop it in the container. Gender aside, I know we all assume water straight from the tap is good to go. But, if you’re storing it long-term, you might wanna jump through a few hoops to treat it properly.
One popular method is using water purifying tablets or drops, which can eliminate bacteria and viruses that might mess with your health. You can also boil the water for a minute or two, depending on where you live. Just remember to let it cool before pouring it into your containers!
Ultimately, treating your water ensures you’re not just hoarding plain old H2O, but really good, clean water that’ll keep your family safe in an emergency. Believe me, it’s worth the extra step!
Proper Storage Practices
Finding a Suitable Location
Alright, let’s get into the nitty-gritty of storage. It’s super important to pick a good spot for your water containers. Ideally, you want them kept in a cool, dark area away from direct sunlight, which can degrade the plastic over time.

If you’re like me, you might think the garage or basement is the perfect spot, but make sure it’s dry and out of reach from potential leaks or flooding. If the containers are in an old shed, check for critters creeping around. Those little guys could make a mess of your supplies!
And, don’t just shove those containers in a corner and forget about them. Rotate your water supply every six months or so, and do a visual check every now and then. It’s a simple task that can save you major headaches later.
Regular Maintenance and Safety Checks
Updating Your Supply
Your long-term water storage isn’t a “set it and forget it” deal. Just like my favorite plants, it needs some maintenance to make sure it’s good to go! This means regularly checking your supply and updating it when necessary.
As mentioned earlier, every six months is a good rule of thumb for rotating out older water supplies, but also keep tabs on the containers. Inspect them for leaks, discoloration, or any signs of wear and tear. If something looks off, it’s best to replace it.
And don’t forget to keep an eye on the overall condition of your storage area too. Keep it tidy and organized; a cluttered storage space can lead to accidents or even mix-ups with different liquids. Practicing regular maintenance feels a little tedious, but trust me, it’ll pay off big time when you’re in a pinch!
Frequently Asked Questions
1. How long can water be stored for?
With proper storage techniques, you can safely store water for 6 months to a year. Just remember to check it periodically!
2. Can I store water in my bathtub?
Yes, in emergency situations, you can fill your bathtub with water. However, make sure it’s clean and consider treating it with purification tablets if you’re going to use it later.
3. Is there a specific way to seal my water containers?
You want to ensure your containers are tightly sealed and that any caps or lids are snug. You can even use tape around the edges for an extra seal if you’re worried.
4. Do I need to treat tap water before storing it?
While tap water is generally safe, treating it with purification methods can help eliminate any pathogens, particularly if it’s going to be stored long-term.
5. How do I know if my stored water is safe to drink?
Before consuming stored water, conduct a visual inspection for any contaminants or odd smells. If everything looks good, you can taste a small amount; trust your instincts, and if anything seems off, don’t drink it.
by Preparation | Jul 31, 2025 | Preparedness
Stay Informed and Educated about Weather Conditions
Understand Weather Terminology
It’s super important to get a grip on weather terminology. When you hear a weather alert, do you know what a “flash flood watch” means compared to a “warning”? I started paying attention to these terms, and what a game changer! Knowing the difference can help you prioritize your response. A ‘watch’ means to be prepared, while a ‘warning’ is the time to act.
Before I learned this, I would just brush off the alerts. But once I had a better understanding, I realized how vital it is to stay updated. Educate yourself on common weather phenomena specific to your area, whether it’s hurricanes, tornadoes, or snowstorms. Make a mental note—knowledge is power!
Finally, don’t just rely on the news. Apps and local alerts keep you in the loop throughout the day. I downloaded a few reputable weather apps, and let me tell you, it’s worth the space on my phone!
Follow Trusted Sources for Updates
One of the biggest lessons I learned during unexpected weather events is to follow trustworthy sources. Social media can be super misleading, and we don’t want to get caught up in the panic. Find local meteorologists on Twitter or Facebook who provide accurate and timely updates. Building that trust is key!
Don’t hesitate to get weather notifications sent straight to your phone. I have alerts set up to ping me when severe weather is approaching, and it’s been a real lifesaver. Being notified instantly means I can act quickly!
Also, check out local government websites for emergency plans and community resources. Often, they publish helpful guides about what to do before, during, and after a disaster. Being prepared makes all the difference.
Participate in Community Preparedness Events
Getting involved with your community during preparedness events is a blast! I’ve joined local emergency preparedness meetings and trainings, which gave me insight into local hazards and community response strategies. Plus, you meet some great people who think like you—future survivalists!
These events often provide hands-on training, like how to use an emergency kit or what to include in an evacuation plan. The experience is invaluable, and you gain confidence knowing you can handle a tough situation.
Trust me on this one—community bonds help in times of crisis. You can share resources, experiences, and even group networking in case you need help during bad weather.
Create a Disaster Preparedness Plan
Assess Your Household’s Needs
First things first, take stock of your household’s unique needs. This isn’t a one-size-fits-all situation. I personally sat down with my family and discussed what we would need during a disaster. That includes food supplies, medications, and special items for little ones or pets.
At the end of the day, knowing what everyone needs helps reduce stress in high-pressure moments. Plus, you can avoid the scramble at the last minute when everyone realizes they need something vital!
Compiling a list of necessary items for different scenarios can be a smart move, helping you stay organized. It doesn’t have to be complicated; you can keep it simple but effective!
Develop an Evacuation Plan
Your evacuation plan is your life jacket when things go south. For my family, this means knowing multiple routes out of town just in case. I cannot stress enough how crucial it is to have alternate paths in mind—traffic during evacuations can be a nightmare!
Make sure everyone in your household knows the plan. Whether it’s kids or grandparents, everyone should be informed about what to do and where to go. Practice makes perfect, so why not have a little drill? It can be fun and educational at the same time!
Don’t forget to consider transportation, too. If you only have one vehicle, plan who drives it and what to do in case of emergencies. Having a clear strategy is a huge weight off your shoulders when disaster strikes.
Compile a Go-Bag with Essentials
Talking about a go-bag gets me excited, honestly! I put together an emergency bag with all the essential items my family might need in a hurry. Think of non-perishable snacks, water bottles, flashlights, and a first-aid kit. It’s kinda like a survival care package!
Don’t forget cash! ATMs may not function during a disaster, so having some bills on hand is a lifesaver. Also, pack copies of important documents—IDs, insurance info, you name it. Keeping everything together can save you a ton of stress later on!
Lastly, remember to refresh your go-bag occasionally. I tend to swap out old snacks and check the expiration dates regularly. It’s the simple things that can make a big difference when you need to act fast!
Establish Communication Protocols
Identify Emergency Contacts
Communication is key during a disaster. Identify trusted emergency contacts that your family can reach out to if you’re separated. I made a list stored on everyone’s phones and printed a few copies for the fridge. It’s great for peace of mind!
You’ll want to choose a mix of local and long-distance contacts. Sometimes the cell networks are down, and it might be easier to get in touch with someone outside the area. Whoever it is, make sure they’re on board, too, and understand they’ll be your go-to.
Don’t forget to establish a meeting point if everyone gets split up. It should be somewhere familiar and accessible—like a local park or community center. Having a plan protects you from panic later!
Use Multiple Communication Channels
Relying solely on your phone isn’t the best idea. I learned that the hard way! You never know when signals may drop or when you might lose power. It’s important to have multiple ways to communicate. Use social media, landlines, or even walkie-talkies!
Encourage family and friends to share their locations using location-sharing apps. It may sound a bit dramatic, but it can really come in handy when every moment counts. Keeping tabs on each other shouldn’t add stress, so use tech to your advantage!
Also, consider having a family group chat as a backup for real-time updates. Keeping everyone in the loop can alleviate fears and uncertainties when things go wrong.
Educate Family on Communication Plans
Here’s a fun one: make your communication plan a family affair. Sit down and involve everyone—no matter their age. This builds understanding and reduces anxiety when it’s time to put the plan into action.
Run through scenarios where you might need to execute your plan. This way, people will know exactly what to do without being flustered in the heat of the moment. I remember the first time we did a mock drill. Everyone was so much calmer during the actual storm!
Keep it interesting with role-playing or games to teach young kids about safety precautions and routes during an emergency. They’ll not only learn, but they’ll remember the lessons, too!
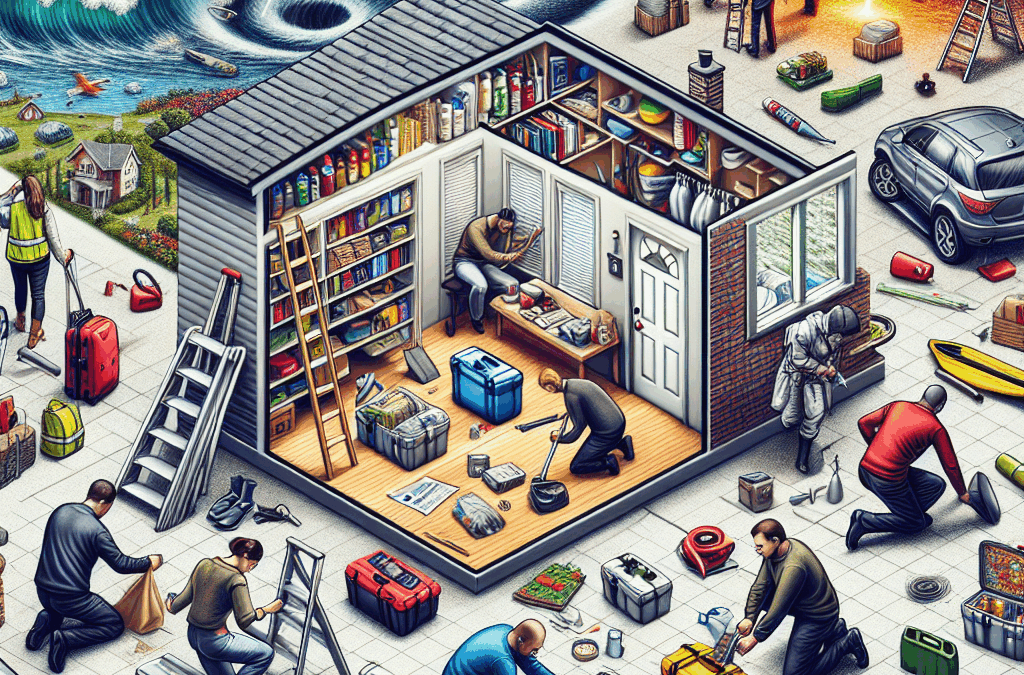
Stock Up on Emergency Supplies
Build a Comprehensive Emergency Kit
Hello, emergency kit! What’s inside matters more than you might think. I always recommend keeping basics like non-perishable food, first-aid items, and hygiene products. But don’t forget the pet essentials if you have furry family members!
When I first assembled my kit, I focused on food and water. But then I thought about comfort too—things like blankets, a battery-operated radio, and even board games for the kids! It was eye-opening to think of all the needs that could arise.
Regularly checking and updating the emergency kit is crucial. Changing out stale food or expired supplies ensures you’re always ready to go. It’s one less thing you have to worry about when disaster strikes!
When to Restock Supplies
Make it a habit to restock your emergency supplies—maybe set a reminder on your phone or jot it down in your planner. Every few months, review what you have and what might need refreshing. Keeping track will transform a typically daunting task into an easy routine.
I had no idea how quickly supplies could dwindle until I forgot to check my kit. That was a real wake-up call! I found expired items and bare minimums sitting there. Now, I treat my emergency stock like a monthly grocery shopping trip—only for safety!
Being proactive saves time and ensures that you’re never caught with your pants down when an emergency hits. It’s all about staying ahead of the game!
Sourcing Alternative Supplies
Don’t forget to think outside the box when assembling supplies! Local supermarkets might be low on certain items during emergencies. That’s why diversifying your sources is smart—try local co-ops or farms for fresh food options.
I found that reaching out to community groups can help find emergency items. People often share resources and tips on where to score food and supplies. Talk to your neighbors; they might have insights you wouldn’t have thought of!
Creating a network can make a world of difference when everyone is trying to get the same resources. Building community and connections will be beneficial not just in emergencies but in daily life too!
FAQ
1. What should be included in an emergency kit?
An emergency kit should include non-perishable food, water, a first-aid kit, flashlight, batteries, personal hygiene items, cash, and any necessary medications. Don’t forget comfort items for kids or pets!
2. How can I stay informed about weather conditions?
Follow trusted sources such as local meteorologists and official government weather services. Download apps that send real-time alerts to keep you informed on developing weather situations.
3. Why is having an evacuation plan important?
An evacuation plan helps you act swiftly in emergencies. Knowing routes, meeting points, and transportation arrangements in advance can save precious time and reduce panic when every second counts.
4. What types of communication methods should I use?
Utilize multiple forms of communication like phone calls, text messages, social media, and even community bulletin boards. Ensure everyone knows how to reach each other during a disaster.
5. How often should I check my emergency supplies?
It’s recommended to check and restock your emergency supplies every few months. Regular reviews will ensure your kit is up-to-date and ready for anything life throws at you.


