Select Page
Don’t Wait for a Crisis: Proactive Steps for Emergency Preparedness

Don’t Wait for a Crisis: Proactive Steps for Emergency Preparedness

In a world where uncertainties loom large, being prepared for emergencies is no longer just a luxury but a necessity. The adage “Don’t wait for a crisis” resonates deeply when it comes to safeguarding your family and home. So, how do you proactively step into preparedness? Let’s explore the essential components that will help you stand strong in the face of adversity.

## Understanding the Risks: Assessing Your Vulnerabilities

Before you can prepare, it’s crucial to understand what you’re preparing for. Take a moment to assess your environment and identify potential risks. Are you living in an area prone to natural disasters like hurricanes, earthquakes, or floods? Consider technological hazards as well—chemical spills or power outages can disrupt life just as dramatically. Engage in conversations with neighbors or local emergency services to gain insights into common threats in your region. Once you’ve identified specific vulnerabilities, prioritize them based on likelihood and potential impact. This foundational understanding will guide your subsequent steps toward effective preparedness.

## Building Your Emergency Kit: Essentials for Every Household

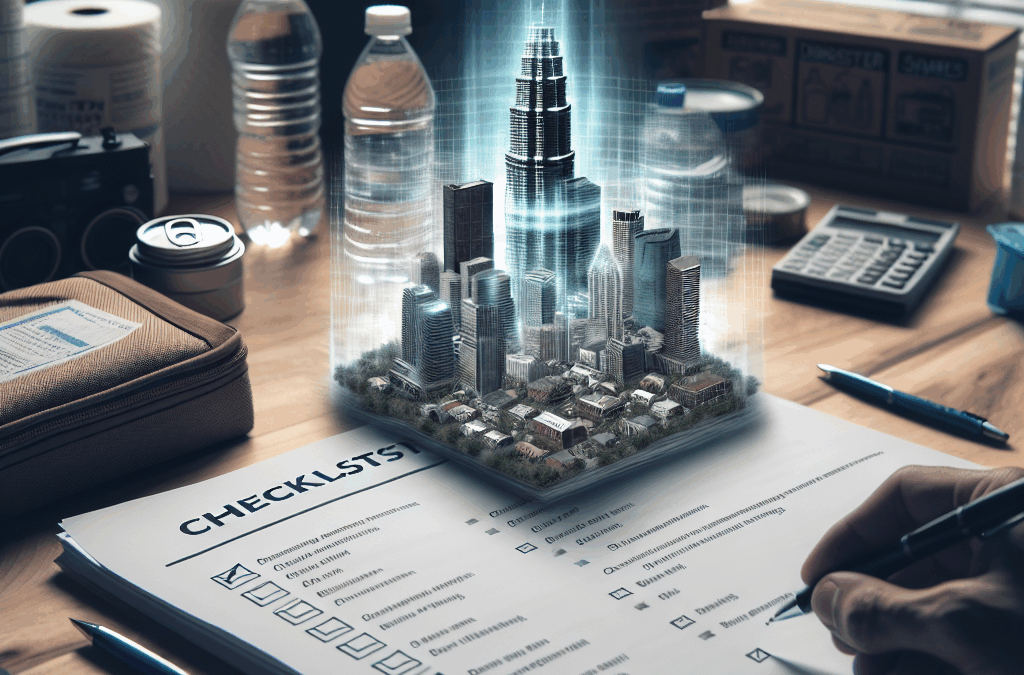
One of the most tangible actions you can take is assembling an emergency kit stocked with essentials. Imagine facing a blackout during a storm—would you have enough supplies on hand? A well-rounded kit should include non-perishable food items, water (at least one gallon per person per day), first-aid supplies, flashlights with extra batteries, necessary medications, and personal hygiene products. Don’t forget important documents; keep copies of identification and insurance information in a waterproof bag.

Additionally, consider special needs within your household: infants may require baby formula and diapers; pets need food and leashes; elderly family members might need mobility aids or specific medications. Regularly review and update your kit every six months to ensure everything remains fresh and functional—your preparedness shouldn’t gather dust!

## Creating a Family Emergency Plan: Communication and Evacuation Strategies

Once you’ve assessed risks and built your kit, it’s time to map out an actionable family emergency plan. Start by establishing clear communication strategies—who will contact whom if disaster strikes? Designate an out-of-town friend or relative as the central point of contact so everyone has someone to reach out to during chaos.

Next, outline evacuation routes from your home to predetermined safe locations like shelters or designated meeting spots. Practice these routes regularly so everyone knows what to do when time is of the essence. Include contingencies for various scenarios; if you’re separated during an emergency or unable to return home while away at work or school, having alternatives reduces anxiety.

## Staying Informed: Resources and Training for Ongoing Preparedness

Preparedness isn’t merely about having supplies—it’s also about knowledge! Utilize available resources such as FEMA’s website or local community workshops focused on emergency response training. Enroll yourself—and even older children—in CPR classes or first aid training sessions; these skills could save lives when seconds matter most.

Establish routines that keep everyone informed about ongoing threats—subscribe to alert systems that notify you of severe weather warnings or emergencies in your area through texts or apps.

In conclusion, embracing proactive steps toward emergency preparedness transforms uncertainty into confidence. By understanding risks unique to your surroundings, building an effective emergency kit tailored for all household members, creating comprehensive family plans, and staying informed through continuous learning—you’re not just waiting for crises but actively fortifying yourself against them! Equip yourself today so that tomorrow’s challenges don’t catch you off guard!

The Power of Checklists in Disaster Planning

The Power of Checklists in Disaster Planning

Understanding the Importance of Checklists

Why Checklists Matter

Let me start by saying, checklists are not just mundane tools; they are lifesavers. Through my own experiences, I’ve come to realize that the human brain can only hold onto so much information at once. When a disaster strikes, it’s easy for our thoughts to spiral. A well-constructed checklist serves as a grounding tool that brings clarity in moments of chaos.

Using checklists in disaster planning allows me to streamline my response. For instance, when preparing for a natural disaster, I can tick off items like ‘water supply’ or ‘first aid kit’ as I gather them. This not only keeps me organized but also gives me peace of mind knowing that I’m less likely to forget something critical in a high-stress situation.

Moreover, checklists help different members of a team stay aligned. If everyone on an emergency response team knows their checklist, it enhances coordination. I’m all about teamwork, and having a clear plan outlined in a checklist means we can respond efficiently, reducing panic and confusion.

Creating Your Checklist: Key Components

Essential Items to Include

When I sit down to create a checklist for disaster preparation, I consider what items are absolutely critical. This might include food supplies, water, medications, and important documents. Each of these items might seem obvious during calm times but can easily slip my mind when the stress kicks in. That’s why I always make sure they’re on my checklist.

Next, I always include communication tools on my checklist. Whether it’s a charged phone or a designated meeting place, having a reliable way to connect with loved ones or team members during a crisis is vital. It’s easy to overlook, but trust me, it can make all the difference.

Lastly, I think about non-tangible items like mindset and preparedness. I often write reminders on my checklist to stay calm and think clearly. This is just as important as gathering physical items. In a panic, the storm of emotions can cloud judgment, so it helps to have that reminder visually in front of me.

Implementing Your Checklist Effectively

Practice Drills

Now, creating the checklist is only half the battle. The real power of checklists comes from actively using them. A technique that works wonderfully for me is conducting practice drills. This might sound like a daunting task, but practice makes perfect! It’s great to simulate different scenarios so I can get comfortable using my checklist in real-time.

During these drills, I can see firsthand which items I always forget and adjust my checklist accordingly. Repetition helps to solidify the information, and before I know it, I’m more confident and prepared. Every drill feels like a mini workout for my disaster planning skills!

Involving my family or team in these drills not only helps everyone feel more prepared but also fosters teamwork. Engaging with everyone on the checklist helps me identify strengths and weaknesses and gives us a chance to brainstorm on improvements collaboratively.

Reviewing and Revising Your Checklists

The Importance of Regular Updates

Just like everything else in life, checklists need a little TLC. Regularly reviewing and revising my checklist has been a game changer. After each drill or real-life situation, I take some time to reflect on what worked and what didn’t. This helps to keep the checklist relevant and useful over time.

Copy of PREPARE Mag ad 970 x 250

New information always emerges about disaster response strategies. By keeping myself informed and updating my checklist accordingly, I can ensure that I’m using the most effective practices available. Nobody wants to be outdated in their disaster prep, and a few tweaks here and there can elevate my game tremendously.

Additionally, I make sure to revisit the checklist after major life changes. Moving to a new location, welcoming a new family member, or even changes in my work can all necessitate updates. Keeping my checklist current reflects my current reality and needs.

Spreading the Word About the Benefits of Checklists

Educating Others

One of the most fulfilling aspects of learning about checklists is sharing that knowledge with others. I often host workshops or casual meets with friends or community groups to discuss disaster preparedness and checklist strategies. Educating others not only spreads awareness but also reinforces my own learning. Talking about checklists is like music to my ears!

During these sessions, I show how personalized checklists can cater to different lifestyles and needs. It’s amazing to see people coming together around the shared goal of preparedness. We bounce ideas off each other while creating customized strategies based on our unique environments.

Lastly, I emphasize the emotional component. Advocacy around checklists shouldn’t just be about ticking boxes; it’s about empowering individuals to create a sense of safety in their lives. It’s such a rewarding experience to see others gain confidence in their disaster preparedness through tools I’ve shared.

Frequently Asked Questions

1. What should I include in my disaster preparedness checklist?

Your checklist should include essential items like water, food, medication, and important documents. Additionally, consider including communication tools and reminders about mental preparedness.

2. How often should I update my checklist?

It’s a good practice to review your checklist after every drill and any significant life changes. Keeping your checklist up-to-date is crucial for effective disaster planning.

3. What are some effective ways to conduct practice drills?

You can simulate different scenarios where your checklist comes into play. Have family members or team members act out roles, use timers, and create urgency to better replicate real-life situations.

4. How can I educate others about the importance of checklists?

Host workshops, join community associations, or simply have conversations with friends and family. Sharing your knowledge not only helps others but reinforces your own understanding as well.

5. Are checklists only useful for physical items?

No, checklists are useful for non-tangible items too! Reminders about mindset, communication, and preparedness strategies are just as important and should definitely be included.

Copy of PREPARE Mag ad 970 x 250

Building Shelter with Scavenged Materials

Building Shelter with Scavenged Materials

Assessing Your Surroundings

Understanding the Environment

So, you want to build a shelter, huh? The first thing I’ve learned is that you really need to get a handle on your environment. Assessing your surroundings means tuning into what’s around you. Look for natural resources like trees, bushes, and even rocks. Each element can play a huge role in your build. Plus, they can help you decide how much shelter you actually need!

For example, if you’re in a forest, you’re likely to find a bounty of fallen branches, leaves, and even some old tarps. But if you’re in an urban area, don’t overlook those discarded pallets. They might not look like much, but they can be a goldmine for creating walls. Make sure to really look around—every little thing can be useful!

And don’t forget about the path of the sun and water sources. Positioning your shelter is key for warmth and visibility, so consider where the sun rises and sets. Plus, being near a water source is a huge advantage in survival situations. Just think of it as checking out all your options before diving in!

Gathering Scavenged Materials

What to Look For

Now that you’ve assessed your surroundings, it’s time to gather some materials. This part can be a bit like a treasure hunt! I’m always on the lookout for items that I can upcycle or repurpose. Think of things like old sheets, tarps, cardboard, and even furniture. You’d be surprised what people throw away!

When you’re out there scavenging, keep your eyes peeled for anything sturdy. Old pallets can be great for framework, while large branches can serve as the backbone of your shelter. And if you find any nails or screws? Score! You can use those to hold everything together nicely.

Remember, not all materials need to be perfect. Sometimes, a slightly damaged piece can fit perfectly into your design. It’s all about creativity and thinking outside the box. The more materials you gather, the more options you’ll have when it comes time to build your shelter.

Designing Your Shelter

Creating a Solid Plan

Before you start hammering things together, take a hot second to design your shelter. I can’t tell you how many times I’ve jumped into a project without a plan, only to regret it later. Sketching out your idea can help keep you focused and organized.

Consider the size of your shelter. How many people will be using it? If you’re camping with buddies, you’ll want something more spacious. For a solo venture? A cozy little corner is just fine. Think about how you want it to look and feel. Do you want an open-air design, or do you want to seal off your space from the outside world?

Also, don’t let the aesthetics go by the wayside. A little thought into the layout can make your shelter more functional and comfortable. Keep in mind materials and insulation as you design. This all contributes to how well your shelter will perform in different weather conditions, and trust me, comfort is key!

Constructing Your Shelter

Getting to Work

This is where the magic happens! When I’ve gathered my materials and sketched out a design, it’s time for construction. Start with a solid foundation. If you’re working with pallets, lay them down flat to create the base. You want something stable that won’t budge during storms—or the occasional surprise leg-kick!

Copy of PREPARE Mag ad 970 x 250

Create the frame of your shelter by leaning branches against something sturdy, like a fallen tree. If you’re in an urban area, secure pallets vertically to form walls. Use whatever you’ve got: rope, bungee cords, or even duct tape will do the trick. Remember, it’s about improvisation and using what you have.

Finally, it’s time to make your shelter cozy! Layer the roof with leaves and branches to keep you dry, and cover the walls with whatever fabric or tarp you found. This will insulate your space and help to hold in warmth. It’s all coming together, and trust me, there’s nothing quite like the feeling of building your own little haven!

Maintaining Your Shelter

Regular Check-ups

Once your shelter is built, don’t forget about maintenance! This means regularly checking for any wear and tear. I’ve had shelters that looked great upfront, but after some wind and rain, they needed some TLC. It’s all part of the process!

Make sure to reinforce areas that may have weakened over time. If you notice leaks or sagging spots, address them right away. It’s way easier to fix small issues than to wait until they become big problems. I often find myself doing little upgrades to create a more comfortable space, too.

Also, remember to clean up debris around your shelter. Keeping the space tidy not only makes it more pleasant but also minimizes the chances of pests. After all, you don’t want to share your cozy nook with any unwanted guests, right?

Frequently Asked Questions

What types of materials are best for building a shelter?

Look for sturdy items like pallets, branches, tarps, and old furniture. Even fabric scraps and cardboard can be useful!

How do I know where to place my shelter?

Consider sunshine, water sources, and protection from wind when choosing a spot. A well-chosen location makes all the difference!

How long can I expect my scavenged shelter to last?

The lifespan really depends on your materials and maintenance. Regular checks can help it last longer, even through some rough weather!

Can I build a shelter alone?

Absolutely! While having a buddy helps, many simple designs can be created solo with good planning and the right materials.

What if I can’t find enough materials?

If you’re struggling, think creatively! Mixing and matching smaller pieces can still produce a sturdy shelter. Also, don’t be afraid to expand your search area for more options.

Copy of PREPARE Mag ad 970 x 250