Assessing Your Surroundings
Understanding the Environment
So, you want to build a shelter, huh? The first thing I’ve learned is that you really need to get a handle on your environment. Assessing your surroundings means tuning into what’s around you. Look for natural resources like trees, bushes, and even rocks. Each element can play a huge role in your build. Plus, they can help you decide how much shelter you actually need!
For example, if you’re in a forest, you’re likely to find a bounty of fallen branches, leaves, and even some old tarps. But if you’re in an urban area, don’t overlook those discarded pallets. They might not look like much, but they can be a goldmine for creating walls. Make sure to really look around—every little thing can be useful!
And don’t forget about the path of the sun and water sources. Positioning your shelter is key for warmth and visibility, so consider where the sun rises and sets. Plus, being near a water source is a huge advantage in survival situations. Just think of it as checking out all your options before diving in!
Gathering Scavenged Materials
What to Look For
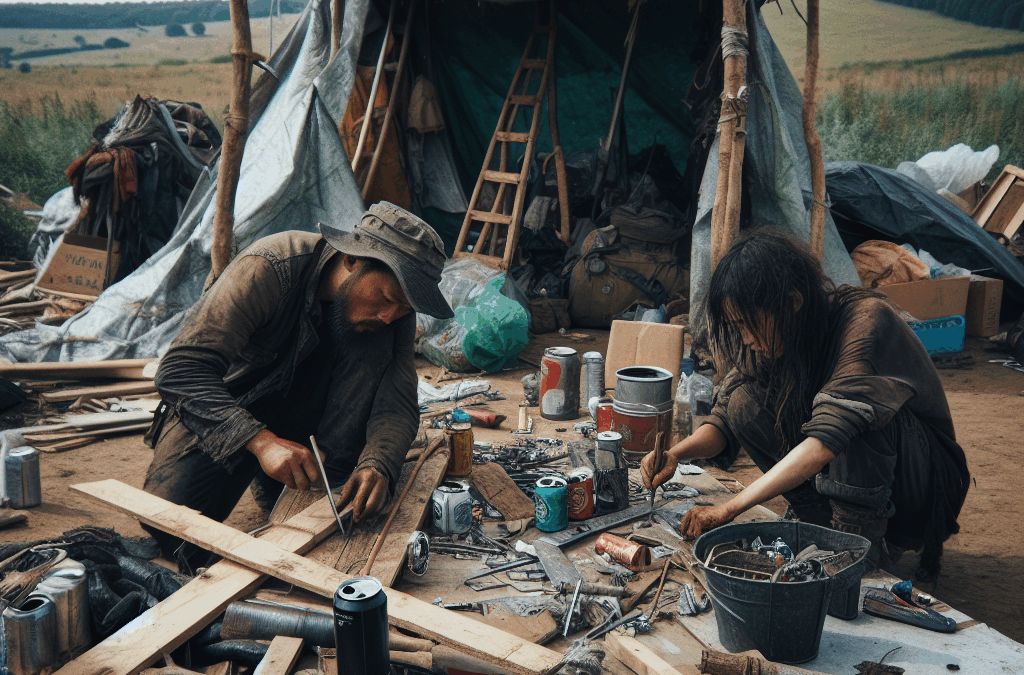
Now that you’ve assessed your surroundings, it’s time to gather some materials. This part can be a bit like a treasure hunt! I’m always on the lookout for items that I can upcycle or repurpose. Think of things like old sheets, tarps, cardboard, and even furniture. You’d be surprised what people throw away!
When you’re out there scavenging, keep your eyes peeled for anything sturdy. Old pallets can be great for framework, while large branches can serve as the backbone of your shelter. And if you find any nails or screws? Score! You can use those to hold everything together nicely.
Remember, not all materials need to be perfect. Sometimes, a slightly damaged piece can fit perfectly into your design. It’s all about creativity and thinking outside the box. The more materials you gather, the more options you’ll have when it comes time to build your shelter.
Thank you for reading this post, don't forget to subscribe NOW for FREE!
Designing Your Shelter
Creating a Solid Plan
Before you start hammering things together, take a hot second to design your shelter. I can’t tell you how many times I’ve jumped into a project without a plan, only to regret it later. Sketching out your idea can help keep you focused and organized.
Consider the size of your shelter. How many people will be using it? If you’re camping with buddies, you’ll want something more spacious. For a solo venture? A cozy little corner is just fine. Think about how you want it to look and feel. Do you want an open-air design, or do you want to seal off your space from the outside world?
Also, don’t let the aesthetics go by the wayside. A little thought into the layout can make your shelter more functional and comfortable. Keep in mind materials and insulation as you design. This all contributes to how well your shelter will perform in different weather conditions, and trust me, comfort is key!
Constructing Your Shelter
Getting to Work
This is where the magic happens! When I’ve gathered my materials and sketched out a design, it’s time for construction. Start with a solid foundation. If you’re working with pallets, lay them down flat to create the base. You want something stable that won’t budge during storms—or the occasional surprise leg-kick!
Create the frame of your shelter by leaning branches against something sturdy, like a fallen tree. If you’re in an urban area, secure pallets vertically to form walls. Use whatever you’ve got: rope, bungee cords, or even duct tape will do the trick. Remember, it’s about improvisation and using what you have.
Finally, it’s time to make your shelter cozy! Layer the roof with leaves and branches to keep you dry, and cover the walls with whatever fabric or tarp you found. This will insulate your space and help to hold in warmth. It’s all coming together, and trust me, there’s nothing quite like the feeling of building your own little haven!
Maintaining Your Shelter
Regular Check-ups
Once your shelter is built, don’t forget about maintenance! This means regularly checking for any wear and tear. I’ve had shelters that looked great upfront, but after some wind and rain, they needed some TLC. It’s all part of the process!
Make sure to reinforce areas that may have weakened over time. If you notice leaks or sagging spots, address them right away. It’s way easier to fix small issues than to wait until they become big problems. I often find myself doing little upgrades to create a more comfortable space, too.
Also, remember to clean up debris around your shelter. Keeping the space tidy not only makes it more pleasant but also minimizes the chances of pests. After all, you don’t want to share your cozy nook with any unwanted guests, right?
Frequently Asked Questions
What types of materials are best for building a shelter?
Look for sturdy items like pallets, branches, tarps, and old furniture. Even fabric scraps and cardboard can be useful!
How do I know where to place my shelter?
Consider sunshine, water sources, and protection from wind when choosing a spot. A well-chosen location makes all the difference!
How long can I expect my scavenged shelter to last?
The lifespan really depends on your materials and maintenance. Regular checks can help it last longer, even through some rough weather!
Can I build a shelter alone?
Absolutely! While having a buddy helps, many simple designs can be created solo with good planning and the right materials.
What if I can’t find enough materials?
If you’re struggling, think creatively! Mixing and matching smaller pieces can still produce a sturdy shelter. Also, don’t be afraid to expand your search area for more options.


